Introduction to The World’s Easiest Yeast Bread
Why bake your own bread?
Baking your own bread can be an incredibly rewarding experience. Not only does it fill your home with the most delightful aroma, but it also allows you to customize flavors and ingredients to suit your preferences. You may wonder, “Why should I put in the effort when I can just grab a loaf from the store?” Here’s the thing: homemade bread is fresher, healthier, and often far tastier! Plus, it can save you money over time, especially considering how much you spend on artisanal breads.
When you take the plunge into the world of bread-baking, you’re participating in a long tradition that dates back thousands of years. Making a loaf from scratch can be a meditation—an opportunity to slow down in our fast-paced lives. The best part? The World’s Easiest Yeast Bread simplifies everything, allowing you to enjoy the process without unnecessary stress.
A personal journey into baking bread
I still remember the first time I attempted to bake bread. It felt daunting, and my initial efforts were far from perfect. Many of us have experienced the frustration of failed recipes, but honestly, it was a journey worth taking. With each loaf, I learned something new, from the importance of measuring ingredients accurately to understanding how yeast works.
One day, during a particularly busy week, I was craving homemade bread but didn’t have the time or energy for a complicated recipe. That’s when I stumbled upon The World’s Easiest Yeast Bread. With just a handful of ingredients and minimal hands-on time, this recipe transformed my bread-baking experience.
Not only did I end up with a fluffy, golden loaf, but I also rekindled my passion for baking. If you’re ready to jump in, this recipe is your perfect starting point! You don’t have to be a professional chef or have a ton of kitchen gadgets. All you need is a little patience and a desire to experiment.
For tips on ingredient choices, you might want to check out King Arthur Baking for more expert advice. So grab your apron and let’s get started on a delicious journey with The World’s Easiest Yeast Bread that you won’t regret!
Ingredients for The World’s Easiest Yeast Bread
Essential ingredients for success
To create The World’s Easiest Yeast Bread, you’ll need just a few simple ingredients. Here’s what you will require:
- All-purpose flour: 3 cups, which gives the bread its structure.
- Active dry yeast: 2 teaspoons, to make your bread rise beautifully.
- Warm water: 1 and 1/2 cups (around 110°F), essential for activating the yeast.
- Sugar: 2 tablespoons, to feed the yeast and enhance flavor.
- Salt: 2 teaspoons, for essential seasoning.
- Olive oil: 2 tablespoons (or melted butter), to contribute richness.
Why is warm water crucial? If it’s too hot, it can kill the yeast. Too cold? The yeast may not activate effectively, leaving you with dense bread. It’s all about balance!
Ingredient substitutions
Running short on some ingredients? No worries! Here are a few substitutions you can use:
- Flour: Substitute with whole wheat flour for a healthier twist.
- Sugar: Honey or agave syrup can replace sugar; use about 1 tablespoon.
- Oil: If you’re out of olive oil, vegetable oil works just as well.
Feel free to explore these alternatives while still keeping the spirit of The World’s Easiest Yeast Bread alive! For a deeper dive into ingredient flexibility, check out resources like Serious Eats.
Step-by-Step Preparation of The World’s Easiest Yeast Bread
Baking bread might seem intimidating, but don’t worry! We’re going to guide you through making The World’s Easiest Yeast Bread with simple steps that even a beginner can follow. Let’s roll up our sleeves and get started!
Mixing the dry ingredients
Begin by gathering your ingredients. You’ll need all-purpose flour, instant yeast, salt, and a touch of sugar. In a large mixing bowl, combine:
- 3 cups of all-purpose flour
- 1 packet (2¼ teaspoons) of instant yeast
- 1 tablespoon of salt
- 1 tablespoon of sugar
Mix these dry ingredients well with a whisk. This step isn’t just for show; it helps to evenly distribute the yeast and salt, ensuring your bread will rise properly. If you want to dive deeper into the science of baking, check out resources like King Arthur Baking for expert insights.
Adding the warm water
Now it’s time to bring the ingredients together. Pour in 1⅔ cups of warm water (about 110°F or 43°C). A quick tip: if you don’t have a thermometer, water that feels just slightly warmer than your body temperature is perfect. Stir with a wooden spoon or spatula until all the flour is incorporated and a shaggy dough forms. No need to knead! This is where the magic begins.
The rising process explained
Cover the bowl with a clean kitchen towel or plastic wrap and place it in a warm, draft-free spot. Allow the dough to rise for about 1-2 hours, or until it doubles in size. This process is vital for developing flavor and texture. During this time, the yeast ferments, creating bubbles that will make your bread light and airy. If you’re curious about yeast and fermentation, The Bread Baker’s Apprentice by Peter Reinhart is a great read.
The optional refrigeration step
For those who want to set their bread game to the next level, consider refrigerating the dough overnight after the first rise. This slow fermentation adds exceptional flavor. Just punch down the dough after the initial rise, then cover it tightly with plastic wrap and pop it in the fridge. When you’re ready to bake, simply let the dough come to room temperature before proceeding.
Preheating and preparing the Dutch oven
About 30 minutes before you’re ready to bake, place your Dutch oven (with the lid on) in the oven and preheat it to 450°F (230°C). Preheating the pot is key to creating that perfect, crispy crust. If you don’t have a Dutch oven, a baking stone or regular baking sheet will also work, but the results may vary slightly.
Shaping the dough
Once your dough is ready and your pot is hot, it’s time to shape it. Flour your hands and the work surface lightly to prevent sticking. Transfer the dough onto the surface and gently fold it over itself a few times to form a ball. Don’t overwork it—remember, we want to keep those beautiful air pockets!
Baking the bread
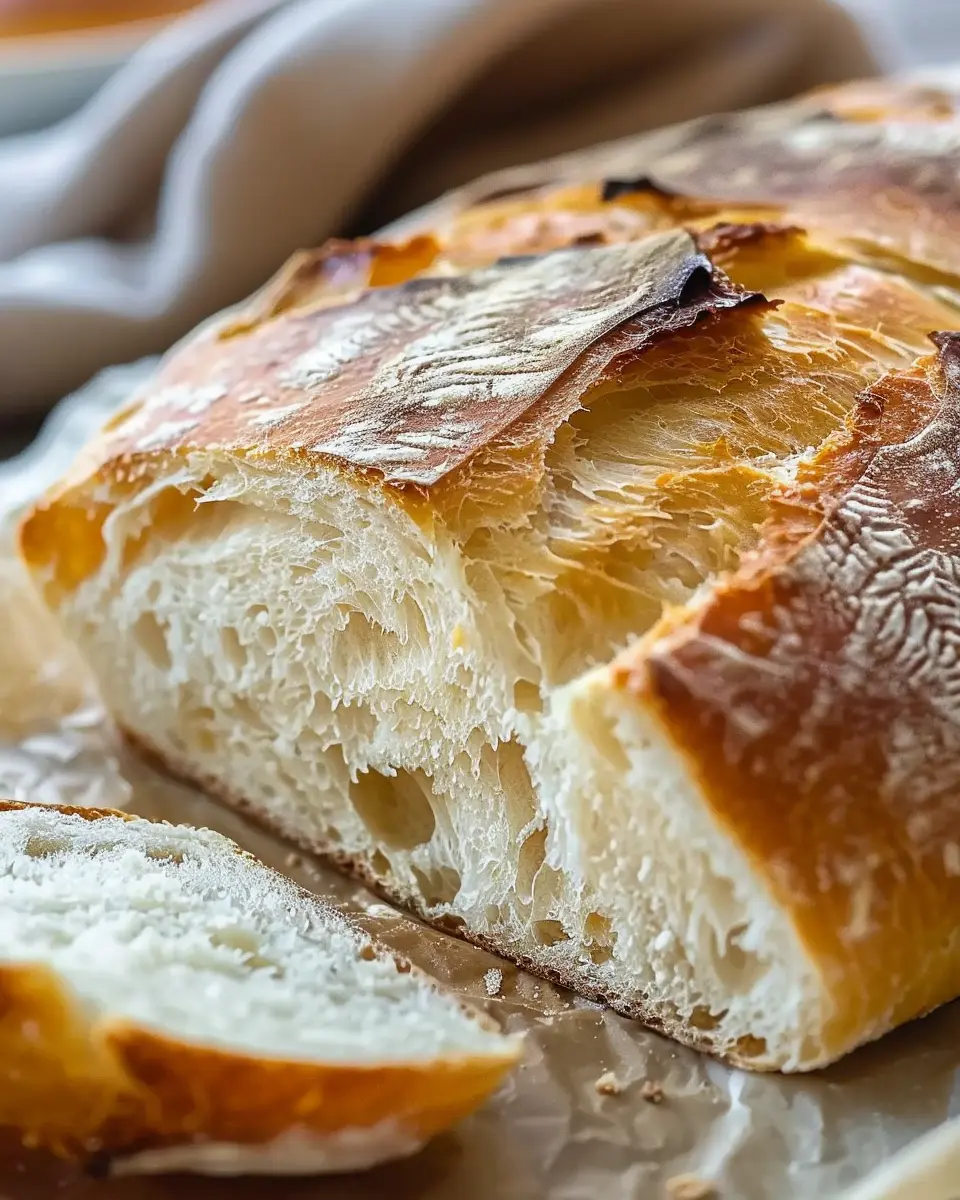
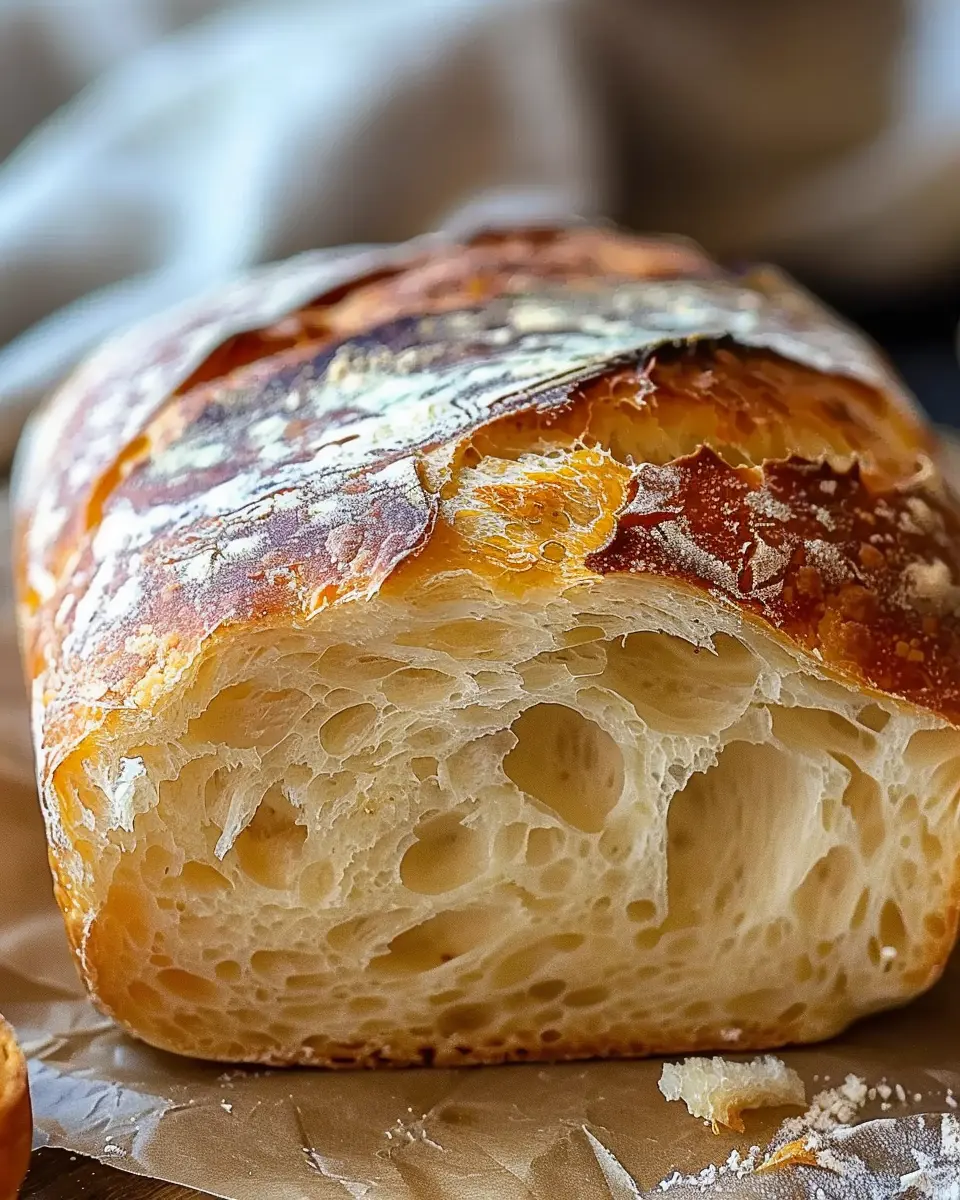
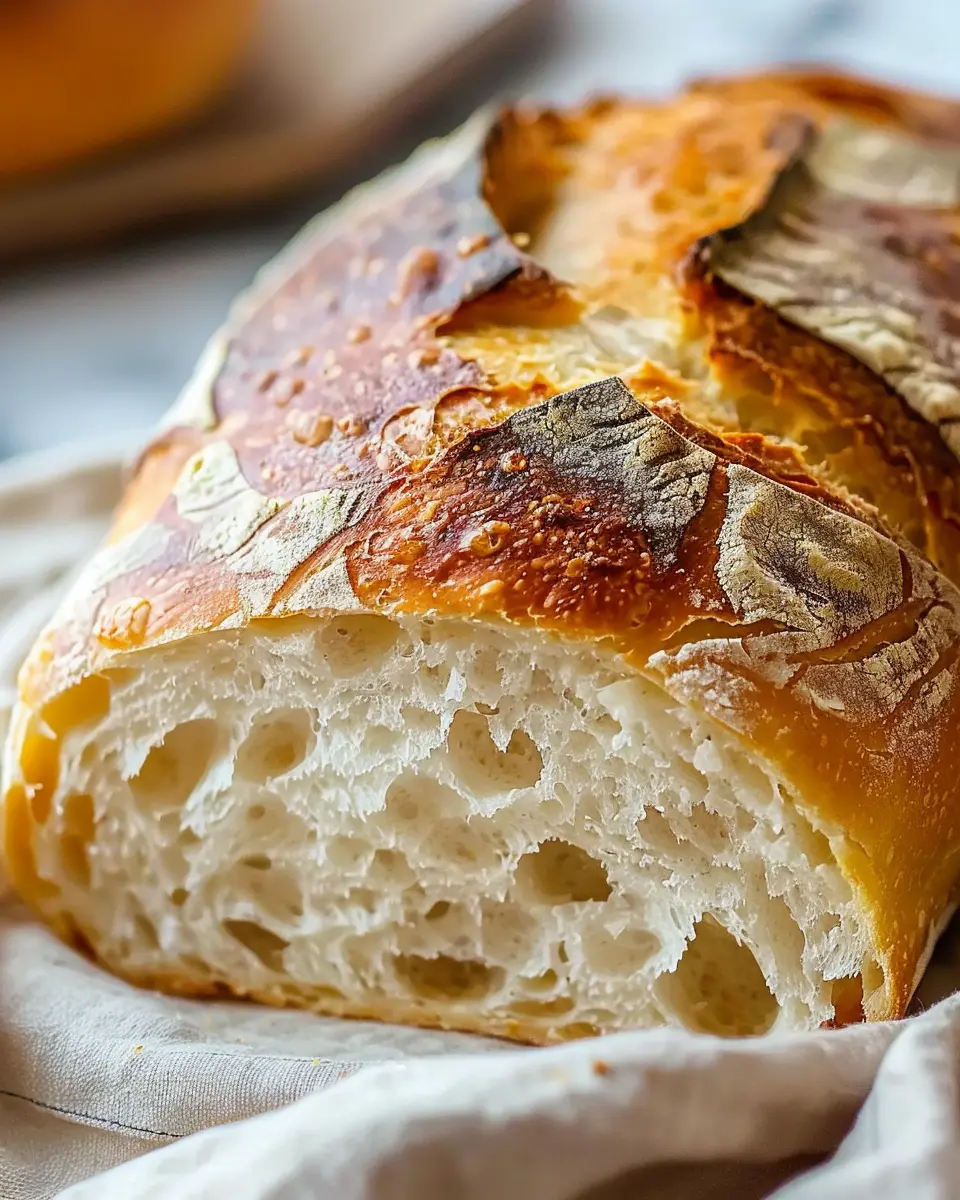
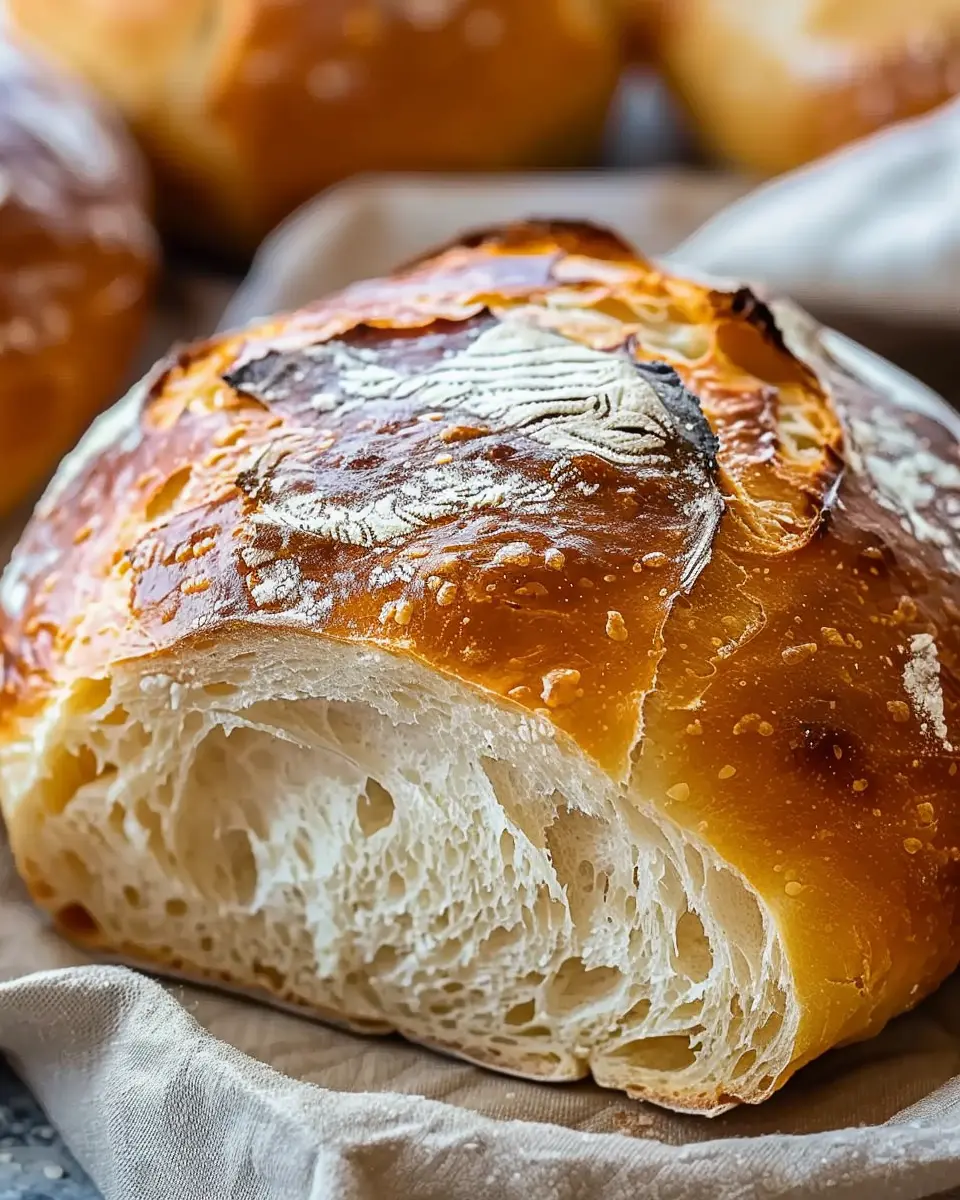
Carefully remove the preheated Dutch oven from the oven, and transfer your dough ball into it. You can score the top with a sharp knife to create a beautiful pattern—but this is entirely optional. Place the lid back on and bake for 30 minutes. Then, remove the lid and bake for an additional 15 minutes until the top is golden brown.
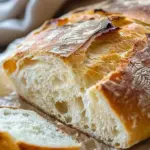
Cooling and slicing the loaf
Once your kitchen fills with the mouthwatering aroma of freshly baked bread, transfer the loaf to a wire rack to cool for at least 30 minutes before slicing. This cooling process is crucial as it allows the crumb to set properly—no one likes a gummy loaf!
And there you have it— The World’s Easiest Yeast Bread is ready to be enjoyed! Slather it with some butter or use it as a base for delicious sandwiches featuring turkey bacon or chicken ham. Trust us, this bread is about to become a staple in your kitchen. Happy baking!
Variations on The World’s Easiest Yeast Bread
Once you’ve mastered The World’s Easiest Yeast Bread recipe, it opens doors to a world of delicious variations. Let’s explore how to mix things up and create your own signature loaf!
Herbs and Cheese Variation
If you love a fragrant, savory twist, adding herbs and cheese to your loaf creates an irresistible aroma and flavor. Simply incorporate:
- Fresh or dried herbs: Rosemary, thyme, or oregano work wonderfully.
- Shredded cheese: Try sharp cheddar, mozzarella, or even a crumbled feta for that added creaminess.
Mix these ingredients into your dough after the initial kneading. Imagine pulling a loaf of cheesy herb bread from your oven—the perfect companion to soups and salads!
Olive Oil and Garlic Twist
For an Italian flair, consider infusing your dough with olive oil and garlic.
- Add garlic: You can use either fresh minced garlic or roasted garlic for a milder flavor.
- Drizzle in olive oil: This not only enhances taste but also yields a beautifully crisp crust.
This variation is heavenly when served warm, perhaps topped with some balsamic vinegar for dipping. You can find more on how garlic impacts flavor here.
Sweet Bread Addition Ideas
Looking for something sweeter? Turn your loaf into a delightful breakfast treat:
- Chocolate chips: Mix some in for a gooey, decadent surprise.
- Cinnamon and sugar: Swirl through the dough for a classic sweet flavor.
- Dried fruits and nuts: Add cranberries, raisins, or walnuts for texture and sweetness.
No matter which variation you choose, The World’s Easiest Yeast Bread remains a canvas for your culinary creativity, ensuring that every loaf is as unique as you are!
For more inspiring bread recipes, check out Serious Eats for a comprehensive collection. Happy baking!
Cooking Tips and Notes for The World’s Easiest Yeast Bread
Tips for a perfect crust
Creating the perfect crust on The World’s Easiest Yeast Bread starts with temperature control. Preheat your oven thoroughly and consider placing a shallow pan with water in the bottom of the oven. This steam will help develop that golden, crispy crust we all crave. Another trick is to brush the bread with melted butter or olive oil just before baking for added flavor and a beautiful finish.
Common pitfalls to avoid
Even the simplest recipes can be tripped up by a few common mistakes. One of the biggest is under-kneading the dough. Ensure you knead until it’s smooth to help the gluten develop effectively. Also, watch your yeast! Make sure it’s fresh and actively bubbling—check this by mixing it with warm water and a hint of sugar before adding it to your dough. If it doesn’t foam, it’s time to buy a new batch.
For more tips on yeast and bread-making, you might find this resource on the science of bread helpful. Happy baking!
Serving Suggestions for The World’s Easiest Yeast Bread
Perfect Pairings with Soups and Salads
When you’re ready to enjoy The World’s Easiest Yeast Bread, think about pairing it with your favorite soups and salads. A warm bowl of tomato basil soup or a fresh garden salad drizzled with balsamic vinaigrette complements the bread beautifully. The crusty exterior and soft, airy center make it perfect for dipping or mopping up every last drop of soup. If you’re adventurous, try a classic French onion soup to elevate your meal. You can even explore hearty salads such as a Mediterranean chickpea salad, which blends wonderfully with the bread’s texture.
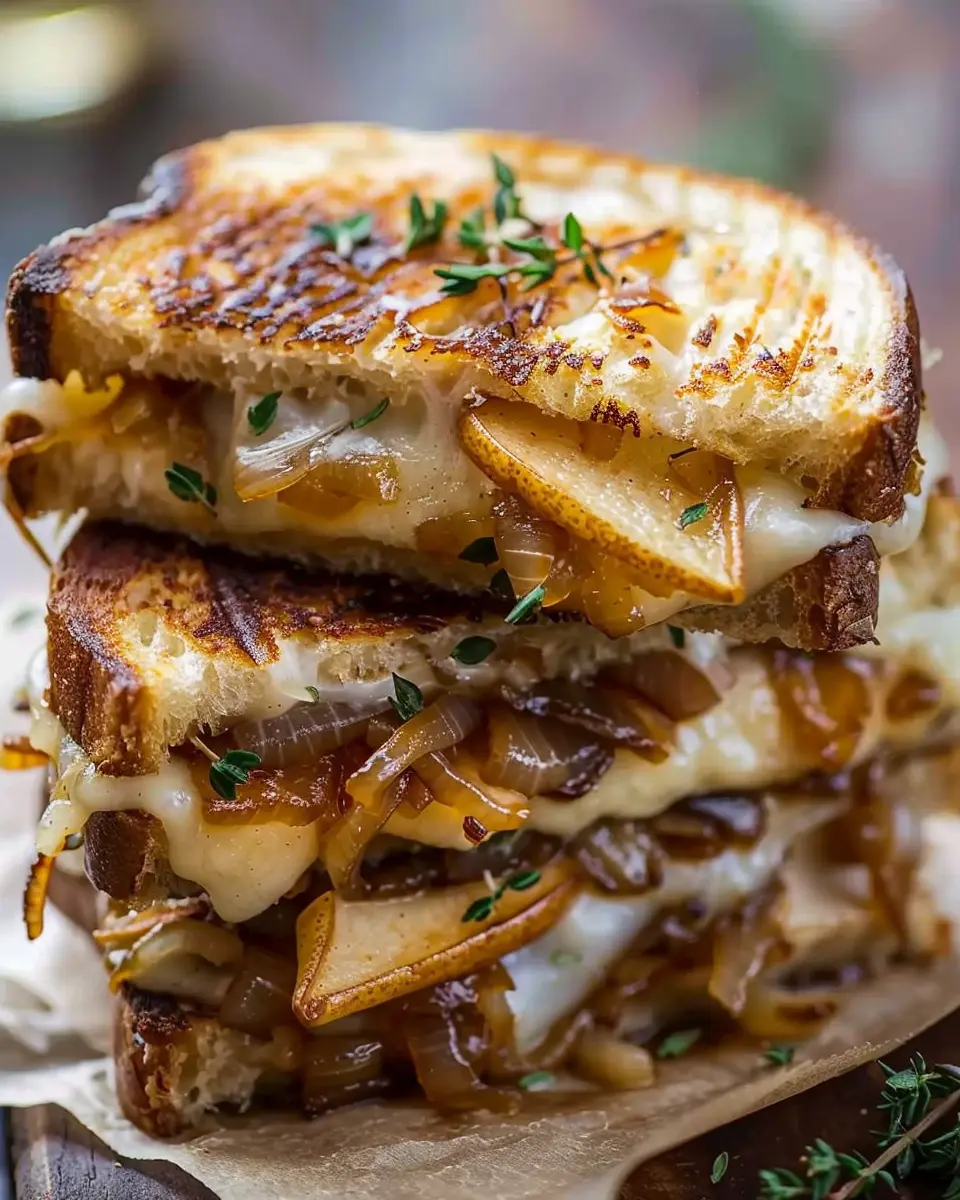
Building the Ultimate Sandwich
Of course, nothing beats using The World’s Easiest Yeast Bread for constructing a delicious sandwich. Imagine layers of turkey bacon, shredded lettuce, juicy tomatoes, and a smear of avocado spread all nestled between two slices of this homemade bread. Don’t shy away from trying different meats; chicken ham paired with creamy mozzarella and spinach is a winning combination! The mix of flavors and textures will make your lunch extraordinary.
Feeling inspired? Discover more about nourishing pairings by visiting Healthline. Happy baking!
Time Breakdown for The World’s Easiest Yeast Bread
When crafting The World’s Easiest Yeast Bread, it’s all about balancing your time efficiently. Here’s a simple breakdown of what to expect:
Preparation Time
Expect to spend about 10-15 minutes prepping your ingredients. Gather your essentials: flour, yeast, salt, and warm water. This is where the magic begins, so take your time and enjoy the process!
Rising Time
The dough will need 1-2 hours to rise, depending on your kitchen’s temperature. This rising period is crucial for developing that lovely, airy structure in the finished bread. You can even let it rise overnight in the fridge for a more complex flavor.
Baking Time
Once your bread has risen, it’s time to bake! Preheat your oven and then bake the bread for about 25-30 minutes until it’s golden brown and sounds hollow when tapped.
Cooling Time
After baking, let your bread cool for about 30 minutes before slicing. This step is vital as it allows the inside to set properly, giving you that perfect slice every time!
For more tips on baking times and techniques, check out King Arthur Baking for their expert insights. Happy baking!
Nutritional Facts for The World’s Easiest Yeast Bread
When you whip up The World’s Easiest Yeast Bread, understanding its nutritional profile can help you tweak it to suit your health goals.
Calories per slice
Each slice typically contains around 100-120 calories, depending on the ingredients you choose. This makes it a fantastic base for sandwiches or toasts without breaking your calorie bank.
Key nutrients and benefits
The World’s Easiest Yeast Bread offers more than just calories. Here are some key nutrients you’ll appreciate:
- Carbohydrates: A good source of energy, ideal for fueling your day.
- Fiber: If you opt for whole grain flour, you increase fiber content, supporting digestion.
- Protein: Contributes to muscle repair, especially when complemented with protein-rich toppings like turkey bacon or chicken ham.
Remember, the nutritional value can elevate with thoughtful toppings and pairings. For more on healthy bread options, check out the USDA’s nutrition database here. Whether you’re slathering on avocado or enjoying it as toast, this is bread you can feel good about!
FAQs about The World’s Easiest Yeast Bread
What type of flour works best?
When making The World’s Easiest Yeast Bread, all-purpose flour is an excellent choice. It provides a balanced gluten structure for a perfect rise. However, if you want a heartier texture, feel free to substitute half of it with whole wheat flour. For a gluten-free version, look into gluten-free all-purpose flour blends; just ensure they contain xanthan gum for proper structure.
Can I double the recipe?
Absolutely! Doubling the recipe is a great way to ensure you have enough bread for meals or gatherings. Just remember, the rising time may be slightly longer due to the larger batch size. Keep an eye on your dough and be patient—great things come to those who wait!
How to store leftover bread?
To keep your bread fresh, allow it to cool completely before storing. Wrap it in plastic wrap or place it in an airtight container. It can last for about 3-4 days at room temperature. If you’d like to save it for longer, slice and freeze individual pieces. Just pop them in the toaster when you’re ready to enjoy! For more tips on bread storage, check out King Arthur Baking.
How to enhance flavor in the dough?
Want to elevate The World’s Easiest Yeast Bread? Try adding a couple of tablespoons of honey or sugar for a hint of sweetness. You can also mix in herbs like rosemary or thyme, or even minced garlic for an aromatic touch. A splash of olive oil will help keep the bread moist and flavorful as well. Experiment with these additions for a delicious twist!
Conclusion on The World’s Easiest Yeast Bread
Reflecting on the Experience of Baking Bread
Baking The World’s Easiest Yeast Bread is not just about creating a delicious loaf; it’s an experience that brings joy and satisfaction. Remember the delightful aroma that fills your kitchen as the bread bakes? That moment when you pull out a golden-brown loaf, knowing you made it yourself, is truly rewarding. It’s a fantastic way to unwind, and it fosters a wonderful sense of accomplishment.
Encouragement to Experiment with Homemade Baking
Don’t hesitate to experiment with your baking! Try adding herbs, spices, or even your favorite cheeses to The World’s Easiest Yeast Bread recipe. Homemade baking can be incredibly therapeutic, and the possibilities are endless. So roll up your sleeves, and unleash your inner baker! Whether you’re hosting friends or enjoying a quiet evening alone, you’ll discover that baking at home can be both fun and fulfilling. For more tips and inspiration, you can check out resources from King Arthur Baking or The Fresh Loaf. Happy baking!
PrintThe World’s Easiest Yeast Bread: Delightfully Simple and Delicious
The World’s Easiest Yeast Bread is a delightful recipe that combines simplicity and flavor.
- Prep Time: 5 minutes
- Cook Time: 45 minutes
- Total Time: 12-18 hours (including rise time)
- Yield: 1 loaf 1x
- Category: Bread
- Method: Baking
- Cuisine: American
- Diet: Vegetarian
Ingredients
- 3 cups all-purpose flour
- 2 teaspoons instant yeast
- 1 tablespoon salt
- 1 1/2 cups warm water
Instructions
- In a large bowl, combine the flour, yeast, and salt.
- Add the warm water and mix until a rough dough forms.
- Cover the bowl with plastic wrap and let it rise for 12 to 18 hours.
- Preheat the oven to 450°F (232°C).
- Place a Dutch oven in the oven and heat for 30 minutes.
- Turn the dough out onto a floured surface and shape it into a ball.
- Carefully transfer the dough to the hot Dutch oven.
- Cover and bake for 30 minutes, then remove the lid and bake for an additional 15 minutes.
- Let cool before slicing.
Notes
- For best results, use a kitchen scale to measure ingredients.
- Experiment with different herbs or spices for added flavor.
Nutrition
- Serving Size: 1 slice
- Calories: 120
- Sugar: 0g
- Sodium: 200mg
- Fat: 0.5g
- Saturated Fat: 0g
- Unsaturated Fat: 0.2g
- Trans Fat: 0g
- Carbohydrates: 25g
- Fiber: 1g
- Protein: 4g
- Cholesterol: 0mg
Keywords: easy yeast bread, simple bread recipe, homemade yeast bread