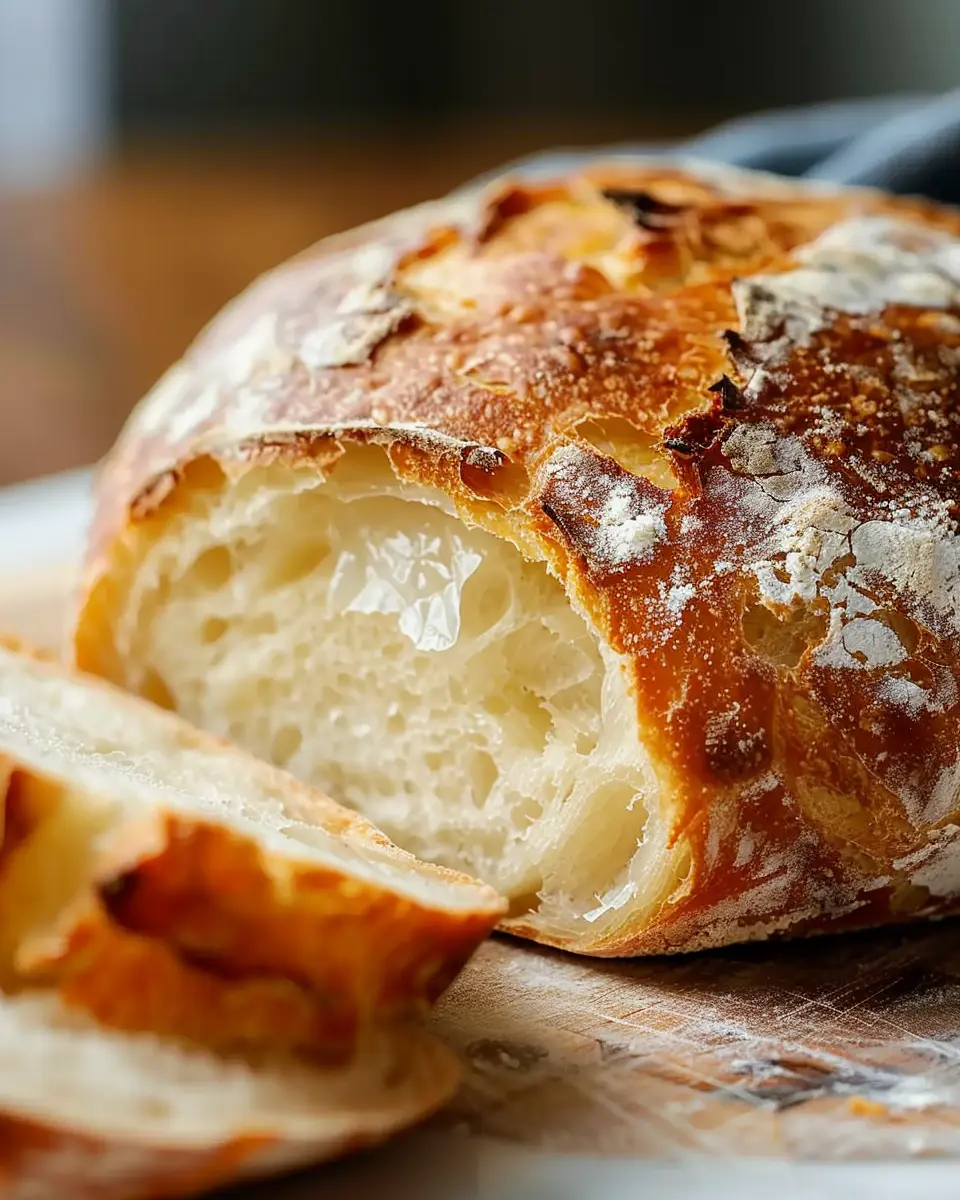
Introduction to Quick Homemade Bread
Making your own bread might sound daunting, but quick homemade bread is truly a game-changer, especially for young professionals navigating a busy lifestyle. Picture this: a freshly baked loaf wafting the aroma of home-cooked goodness fills your kitchen—all within just 20 minutes! It’s perfect for those rushed mornings or last-minute dinner plans, ensuring that you can enjoy homemade warmth without spending hours in the kitchen.
Why Quick Homemade Bread is a Game-Changer for Young Professionals
In the hustle and bustle of modern life, convenience is key. If you’re juggling work, social commitments, and sometimes even a side hustle, quick homemade bread allows you to enjoy the simple pleasure of baking without sacrificing time. Here are a few reasons why it’s ideal for your lifestyle:
-
Speedy Satisfaction: In just 20 minutes, you can whip up a delicious loaf that is perfect for toast, sandwiches, or even as a side for a cozy dinner. This quick turnaround means you can go from hustle to feast in no time.
-
Cost-Effective and Healthier: Store-bought bread can be packed with preservatives and hidden sugars. By making your own, you have total control over the ingredients, ensuring that what you consume is both healthy and budget-friendly. A study from the Whole Grains Council highlights that homemade bread can be a more nutritious option than many commercial varieties.
-
Creative Customization: Want to add herbs, spices, or even bits of turkey bacon or chicken ham? With quick homemade bread, the possibilities are endless. You can tailor the flavor to suit your preferences, meaning you can try out delicious combinations that excite your palate.
-
Comfort and Connection: Baking can be therapeutic, offering a great way to unwind after a long day. Plus, sharing a loaf with friends or family fosters connection and creates cherished moments.
So why not take a break from the fast-paced routine and bring a little bit of comfort into your kitchen? Whether you’re a novice or a seasoned cook, quick homemade bread is an accessible skill that everyone should try. Need some inspiration? Check out resources like King Arthur Baking for tips and tricks to enhance your bread-making journey!
Ingredients for Quick Homemade Bread
Essential Ingredients for Fluffy and Delicious Bread
Making quick homemade bread is remarkably simple, and all you need are a few essential ingredients. With the right mix, you’ll be biting into a fluffy loaf in just 20 minutes! Here’s what you need:
- All-Purpose Flour: The backbone of your bread—choose high-quality flour for the best result.
- Baking Powder: This is essential for that lovely rise. It’s what sets your bread apart from flat alternatives.
- Salt: A pinch goes a long way in enhancing flavor. Don’t leave this out!
- Sugar: Just a touch for sweetness. It helps activate the yeast too!
- Water: Warm water is your friend here; it helps everything blend smoothly.
- Olive Oil (or any oil): This adds moisture and a subtle flavor. Feel free to get creative!
Not only do these ingredients come together quickly, but they also open the door to endless possibilities. Want to mix in herbs, cheese, or spices? Go for it! For more tips on bread-making, check out the Bread Baking Coach. Happy baking!
Step-by-step preparation of Quick Homemade Bread
Making quick homemade bread from scratch is one of the simplest joys you can embrace in your kitchen. With just a handful of ingredients and minimal effort, you’ll have a warm, delicious loaf ready to devour in less than 20 minutes! Let’s dive into the steps.
Combine warm water, sugar, and yeast
To kick off your baking journey, start by gathering these three main ingredients:
- 1 cup of warm water (around 110°F)
- 1 tablespoon of sugar
- 2 teaspoons of active dry yeast
In a mixing bowl, combine the warm water and sugar. The warmth helps to activate the yeast, giving it that gentle nudge it needs to start working its magic. Sprinkle the yeast over the mixture and let it sit for about 5 minutes. You should see it froth and bubble, indicating that it’s alive and ready to help your bread rise.
This simple fermentation process is key to achieving that fluffy texture we all love in homemade bread. If you’re looking for more tips on yeast activation, you might find this guide from King Arthur Baking useful.
Stir in flour, salt, and olive oil
Once your yeast is bubbly and ready, it’s time to add the rest of the ingredients. In the same bowl, mix in:
- 2 ½ cups all-purpose flour (or a gluten-free blend, if that’s your preference)
- 1 teaspoon of salt
- 2 tablespoons of olive oil
Using a wooden spoon or your hands, stir the mixture until it forms a sticky dough. If you want a heartier texture, you can replace a portion of the all-purpose flour with whole wheat flour. Knead gently for about 1 minute in the bowl or on a floured surface until everything is well combined.
This step is incredibly satisfying. Kneading the dough just a bit helps develop the gluten, but remember, this is a quick method—no need to go overboard!
Shape the dough into a loaf
Now comes the fun part! Take your dough and turn it out onto a lightly floured surface. Shape it gently into a loaf by flattening it slightly and then rolling it up tightly. Pinch the seams closed to secure it. You want this loaf to look nice and neat because, after all, presentation matters, especially when impressing friends or family.
If you’re feeling creative, you can even add some herbs or cheese to elevate the flavor of your quick homemade bread. A sprinkle of garlic powder or some shredded cheddar folds right in for extra oomph!
Let the dough rest while preheating the oven
After shaping, let your dough rest for about 5 minutes while you preheat your oven to 375°F. This short rest allows it to rise slightly and relax, which is perfect for achieving that ideal texture.
You can also prepare a baking pan by lightly greasing it or lining it with parchment paper before placing your loaf. Utilizing parchment means less sticking and easy cleanup—who doesn’t love that?
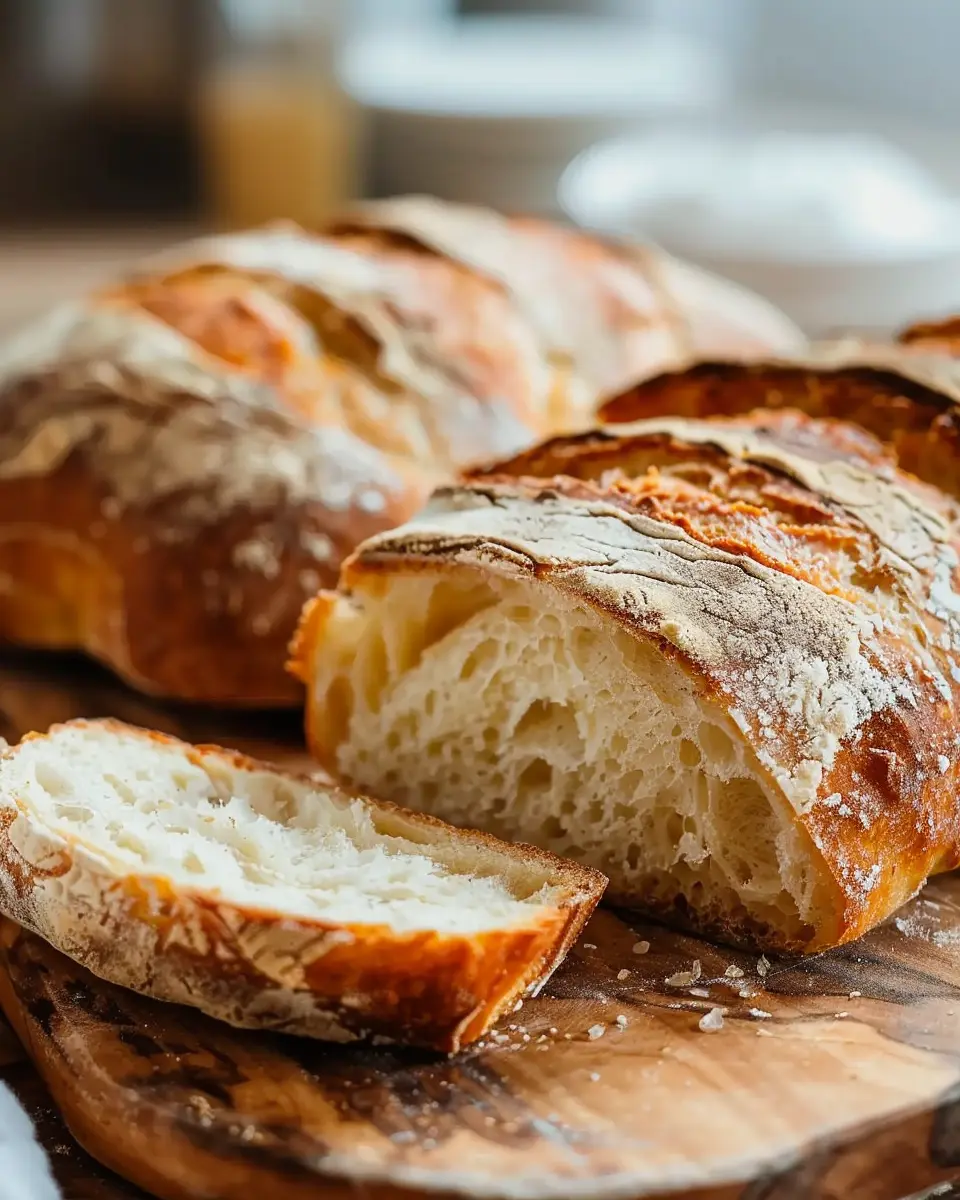
Bake until golden brown
Finally, it’s showtime! Place the shaped loaf in the preheated oven and let it bake for approximately 20-25 minutes. Keep an eye on it; you’re looking for that perfect golden-brown color to indicate doneness. As it bakes, prepare for a delightful aroma that will fill your kitchen—there’s nothing quite like it!
To test if your loaf is done, tap the bottom—if it sounds hollow, you’re good to go. Allow the bread to cool on a wire rack for a few minutes before slicing. Trust me: it’s worth the wait!
Baking quick homemade bread is not only a delicious endeavor; it’s a fantastic way to unwind after a long day. Plus, nothing beats the taste of fresh bread straight from the oven. Enjoy the fruits of your labor with some butter or alongside your favorite soup or salad!
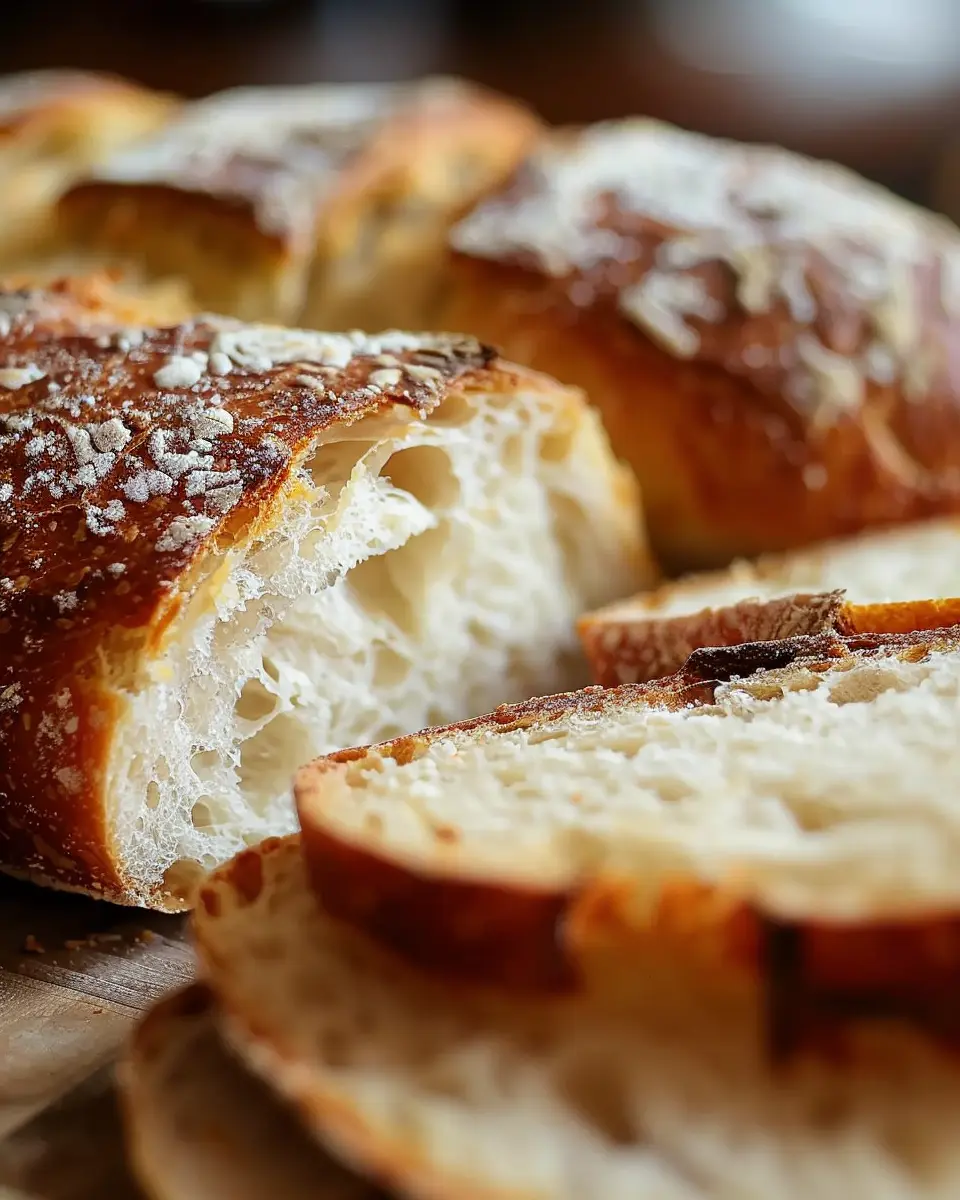
Variations on Quick Homemade Bread
When it comes to quick homemade bread, the classic recipe is just the beginning. Let’s explore some tasty variations that can elevate your baking game and impress your friends!
Adding herbs for an aromatic twist
Want to fill your kitchen with irresistible scents? Consider infusing your quick homemade bread with fresh or dried herbs. Adding ingredients like rosemary, thyme, or basil not only enhances flavor but also gives your bread a stunning visual appeal. A simple mix of 1-2 tablespoons of your favorite herbs is all you need to create a captivating aroma. Imagine biting into a warm loaf with the fragrant notes of rosemary—it’s absolutely delightful!
You can also experiment with herb blends. A sprinkle of Italian seasoning or herbes de Provence can transport you to a sun-drenched Mediterranean café. If you need some inspiration, check out this guide on using herbs in cooking.
Incorporating cheese for a rich flavor
If you’re a cheese lover, you’ll adore the richness that cheese can bring to your quick homemade bread. Whether it’s sharp cheddar, creamy mozzarella, or tangy feta, cheese adds a savory depth that takes your loaf to another level. Aim for about 1 cup of shredded cheese, mixing it into the dry ingredients before adding the wet ones.
For an additional kick, consider adding jalapeños or sun-dried tomatoes alongside your cheese. These ingredients can create a delightful flavor profile that pairs perfectly with soups and salads. Want to try this out? Check out this cheese pairing guide for some ideas.
So, which variation will you try first? The beauty of quick homemade bread is that you can customize it to suit your mood and taste! Happy baking!
Cooking Tips and Notes for Quick Homemade Bread
Key Tips for Perfect Bread Every Time
If you’re looking to whip up quick homemade bread with ease, here are some dependable tips that will take your baking game to the next level:
-
Measure Ingredients Accurately: Use a kitchen scale for precise measurements, ensuring that your flour and water ratios are spot on. A little too much flour can lead to dryness, while too little can alter the texture.
-
Activate the Yeast Properly: If you’re using dry yeast, let it sit in warm water (around 100°F). This step is crucial for achieving that fluffy texture. If you see bubbles forming, you’re good to go!
-
Don’t Skip the Kneading: Kneading isn’t just a workout; it’s essential. A well-kneaded dough creates the gluten structure necessary for a solid loaf. Aim for about 5-7 minutes.
-
Preheat Your Oven: Always preheat to ensure an even rise and perfect crust. An oven thermometer can help you keep it accurate.
I remember the first time I baked bread—I was amazed at how simple it was! For more baking techniques, you can explore resources like King Arthur Baking for additional insights. Happy baking!
Serving suggestions for Quick Homemade Bread
Creative ways to enjoy your freshly baked bread
Once you’ve mastered the art of quick homemade bread, the fun really begins! This versatile loaf can serve as the heart of many delicious meals and snacks. Here are some creative ideas to make the most of your freshly baked bread:
-
Classic Sandwiches: Layer it with turkey bacon, crunchy lettuce, ripe tomatoes, and your favorite condiments for a classic lunch staple. Pair with a side of potato chips or a fresh salad for extra crunch.
-
Toast Toppings: Slice your bread and toast it to golden perfection. Top with smashed avocado and a sprinkle of salt, or spread cream cheese with sliced cucumber for a refreshing snack.
-
Savory Bread Pudding: Use your quick homemade bread as the base for a savory bread pudding. Combine it with beaten eggs, milk, your choice of veggies, and chicken ham for a delightful brunch dish.
-
Dip Companion: Serve slices with hummus or a rich olive tapenade for a great appetizer or snack.
For detailed sandwich inspiration, consider checking resources like The Spruce Eats for variations that suit your taste buds!
Time breakdown for Quick Homemade Bread
Preparation time
Making quick homemade bread is a breeze! You’ll only need about 10 minutes to gather your ingredients and get everything mixed together. This is perfect for those busy weeknights when you want to whip up something fresh without fuss.
Cooking time
The bread will need around 10 minutes in the oven, allowing it to rise and develop that delicious golden crust. You can take this time to tidy up or perhaps prepare a tasty spread to go with your warm loaf.
Total time
In just 20 minutes, you can enjoy your own fresh-baked bread right at home. Whether you’re hosting friends or just want a cozy meal, this quick recipe really delivers. To explore more tips on baking, check out King Arthur Baking for expert insights. Enjoy this warm delight with your favorite toppings!
Nutritional Facts for Quick Homemade Bread
Calories per slice
When you’re whipping up a batch of quick homemade bread, you might be curious about its caloric content. Each slice typically contains around 80–100 calories, making it a delightful yet nutritious addition to your meal. This means you can enjoy a few slices without feeling guilty—perfect for lunches and weekend brunches!
Key Nutritional Components
This quick homemade bread is not just about empty calories; it offers some impressive nutritional benefits:
- Fiber: Whole grain flour can provide 2 grams (or more) of fiber per slice, aiding in digestion and keeping you full.
- Protein: Each slice usually packs about 3 grams of plant-based protein, helping to support muscle repair and growth.
- Vitamins and Minerals: It’s rich in B vitamins and minerals, contributing to your overall health. For instance, complex carbohydrates help sustain your energy levels throughout the day.
By making your own bread, you can control the ingredients and ensure you’re making a healthier choice. Plus, you’ll find countless ways to enjoy it—like pairing it with some fresh turkey bacon or chicken ham. Interested in more details? Check out this comprehensive guide from the USDA on nutritional values.
So why not give this quick homemade bread a try? It’s not just about taste; it’s about nourishing your body too!
FAQs about Quick Homemade Bread
How can I achieve the fluffiest bread possible?
To create the fluffiest loaf of quick homemade bread, pay close attention to the mixing and kneading process. Make sure you’re using warm water (about 110°F) to activate the yeast properly. This temperature helps the dough rise beautifully. Mixing the ingredients until just combined prevents overworking the gluten, leading to a softer texture. Additionally, allow your dough to rest for an extra 5 minutes before baking. This little trick can enhance the final product, making it even more delightful!
What if I don’t have instant yeast?
No instant yeast? No problem! You can substitute regular active dry yeast instead. Just remember to activate it in warm water (with a pinch of sugar) first, and let it sit for about 5-10 minutes until bubbly. If you’re feeling adventurous, you could even go the natural route and create your own sourdough starter! However, keep in mind that this might take a bit longer than 20 minutes, as it requires some patience and care.
Can I store leftover bread, and if so, how?
Absolutely! Storing leftover quick homemade bread is easy and can keep your bread fresh for days. Allow the bread to cool completely, then wrap it tightly in plastic wrap or aluminum foil. You can store it at room temperature for up to 3 days. For longer storage, slice the bread, place it in a freezer-safe bag, and freeze it. Just make sure to remove as much air as possible before sealing. When you’re ready to enjoy it again, simply thaw it at room temperature or toast it directly from the freezer for a warm, fresh taste!
For more tips on bread storage, check out the Bread Bakers’ Guild of America.
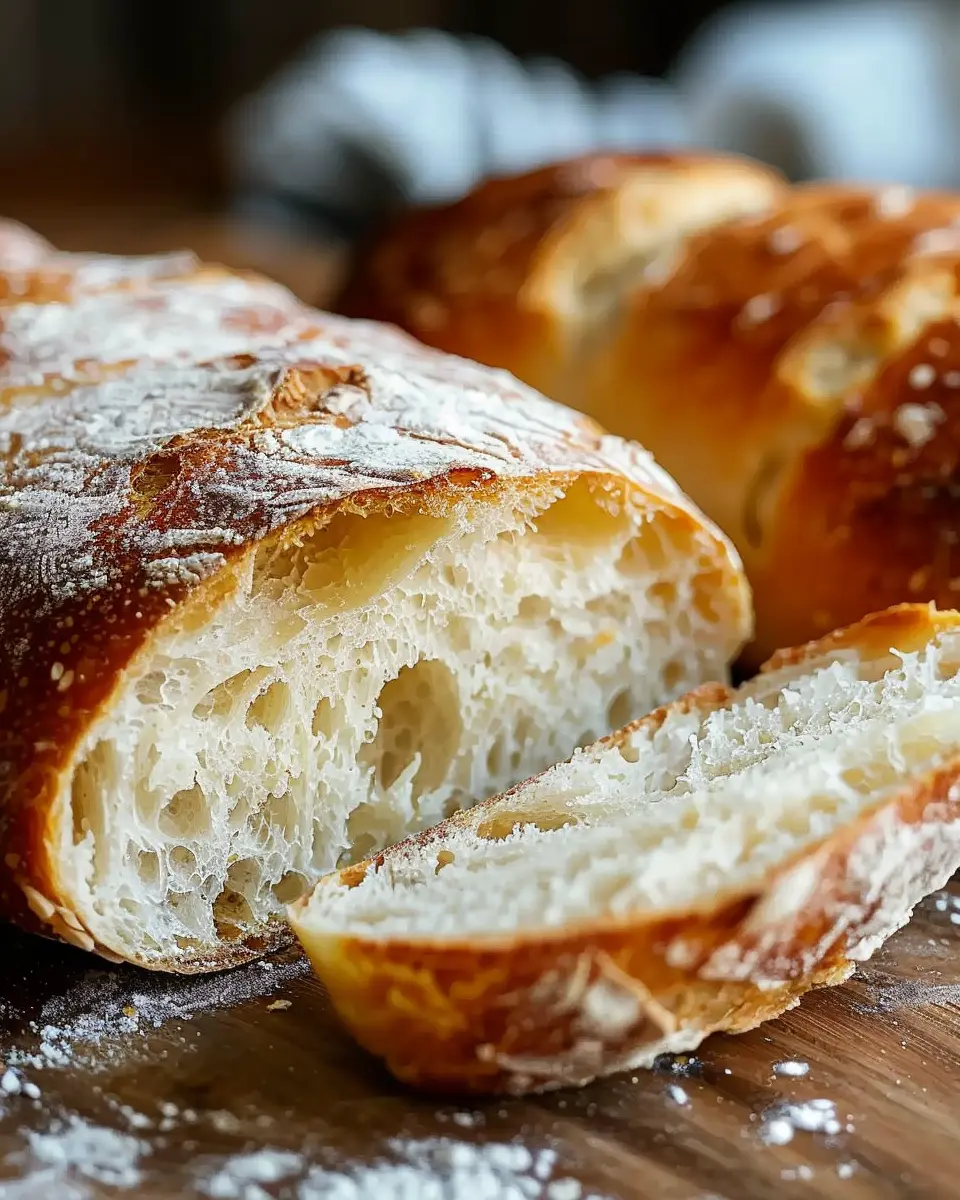
Conclusion on Quick Homemade Bread
Making your own quick homemade bread is a delightful experience that can transform any meal from ordinary to extraordinary. The aromas that fill your kitchen, the satisfaction of kneading the dough, and the warm, crispy loaf that emerges from the oven all contribute to a sense of accomplishment.
With just a few ingredients and a little time, you’ll find yourself creating bread that perfectly complements Turkey Bacon, Chicken Ham, or fresh soups. Plus, you can tune into your creativity by adding herbs, spices, or even cheese. So why not give it a try? Your taste buds will thank you! For more tips on bread making, check out King Arthur Baking or Food Network.
PrintQuick Homemade Bread: Easy 20-Minute Recipe for Fresh Flavor

Make fresh, homemade bread in just 20 minutes with this quick and easy recipe. Perfect for any meal!
- Prep Time: 5 minutes
- Cook Time: 15 minutes
- Total Time: 20 minutes
- Yield: 1 loaf 1x
- Category: Bread
- Method: baking
- Cuisine: American
- Diet: vegetarian
Ingredients
- 2 cups all-purpose flour
- 1 tablespoon sugar
- 1 tablespoon baking powder
- 1 teaspoon salt
- 1 cup milk
- 2 tablespoons melted butter
Instructions
- Preheat your oven to 425°F (220°C).
- In a large bowl, whisk together the flour, sugar, baking powder, and salt.
- Add the milk and melted butter, and stir until just combined.
- Transfer the dough to a floured surface and knead for about 1 minute.
- Form the dough into a loaf and place it in a greased loaf pan.
- Bake for 15-20 minutes or until golden brown.
- Let it cool for a few minutes before slicing.
Notes
- For added flavor, consider mixing in herbs or spices.
- This bread is best served fresh.
Nutrition
- Serving Size: 1 slice
- Calories: 120
- Sugar: 1g
- Sodium: 200mg
- Fat: 3g
- Saturated Fat: 1.5g
- Unsaturated Fat: 1g
- Trans Fat: 0g
- Carbohydrates: 22g
- Fiber: 1g
- Protein: 3g
- Cholesterol: 5mg
Keywords: Quick 20-Minute Homemade Bread